In this guide, we will learn how to install Pull Distribution Point in SCCM 2012 R2, before that we will put some lights to understand what is Pull DP.
Microsoft System Center 2012 Configuration Manager SP1 introduces a new type of distribution point called a pull distribution point. By configuring pull DP instead of having to get the content from the primary site, a distribution point can pull the content from the nearest distribution point. Pull distribution points still allow you to specify where each distribution point resides in the hierarchy but also gives you the flexibility of defining the source distribution point. The result also allows you to overcome the previous limitation of a maximum of 250 distribution points and helps reduce the load of content distribution on primary sites.
Follow the below steps to perform the installation of Pull DP.
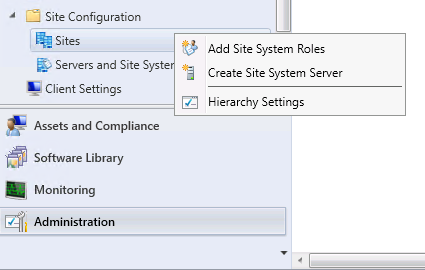
In Configuration Manager Console, Select the Administration Workspace, Site Configuration, right click on sites and then select Create Site System Server.
Microsoft System Center 2012 Configuration Manager SP1 introduces a new type of distribution point called a pull distribution point. By configuring pull DP instead of having to get the content from the primary site, a distribution point can pull the content from the nearest distribution point. Pull distribution points still allow you to specify where each distribution point resides in the hierarchy but also gives you the flexibility of defining the source distribution point. The result also allows you to overcome the previous limitation of a maximum of 250 distribution points and helps reduce the load of content distribution on primary sites.
Follow the below steps to perform the installation of Pull DP.
In Configuration Manager Console, Select the Administration Workspace, Site Configuration, right click on sites and then select Create Site System Server.
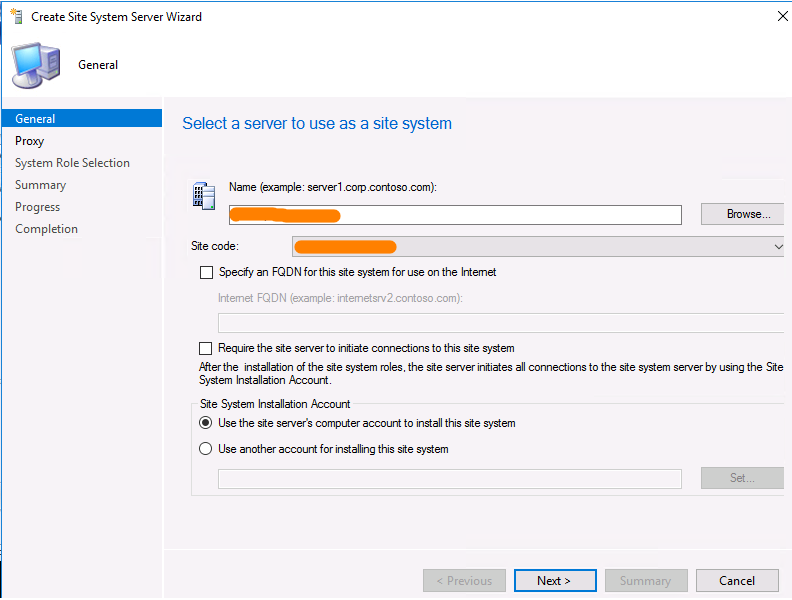
On the General page of the Create Site System Server Wizard, Specify the name of the server that you want to designate as Pull Distribution Point and click next to continue.
Click next on Proxy page and select the role as Distribution Point as shown in below screen in System role Selection page.
Click next on Proxy page and select the role as Distribution Point as shown in below screen in System role Selection page.

On the Distribution Point page check the box to Install and Configure IIS if required by Configuration manager and click next to continue.

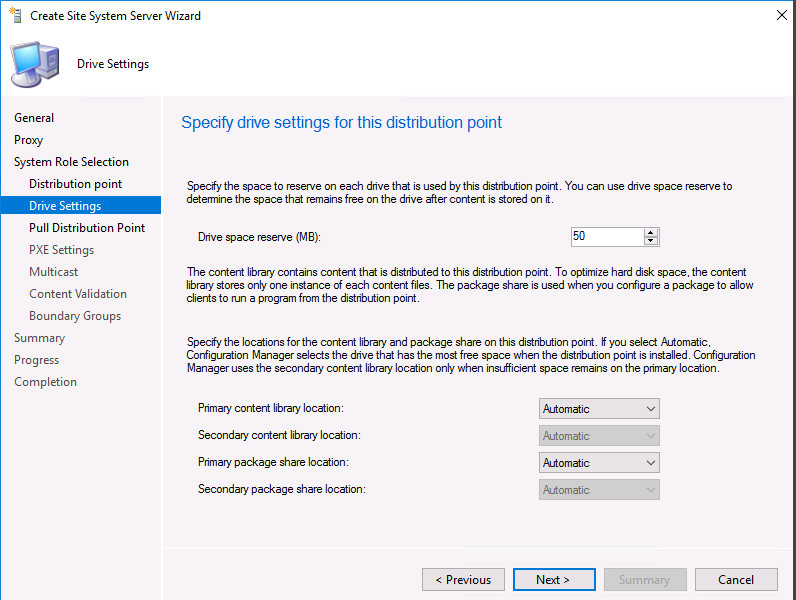
On Drive Settings page, provide the Drive space reserve in MB as per your requirement and click next to continue.
On Pull Distribution Point page, Enable this Distribution Point to pull content from other distribution Points and click add to select the available source distribution points and click ok, then click next to continue.
On PXE settings page, click next to continue.

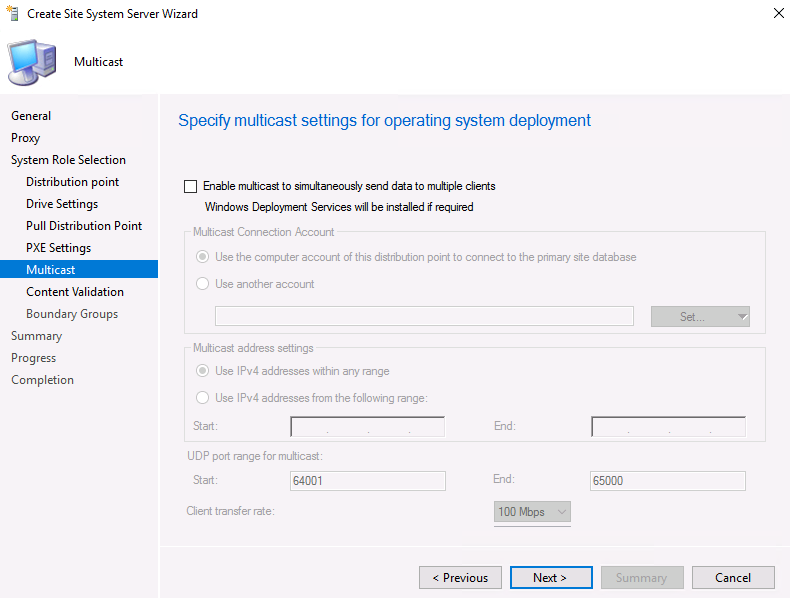
On Multicast page, click next to continue.
On Content Validation Page, configure as per your requirement and click next to continue.

on Boundary Groups page, add the boundary groups and click next to continue.

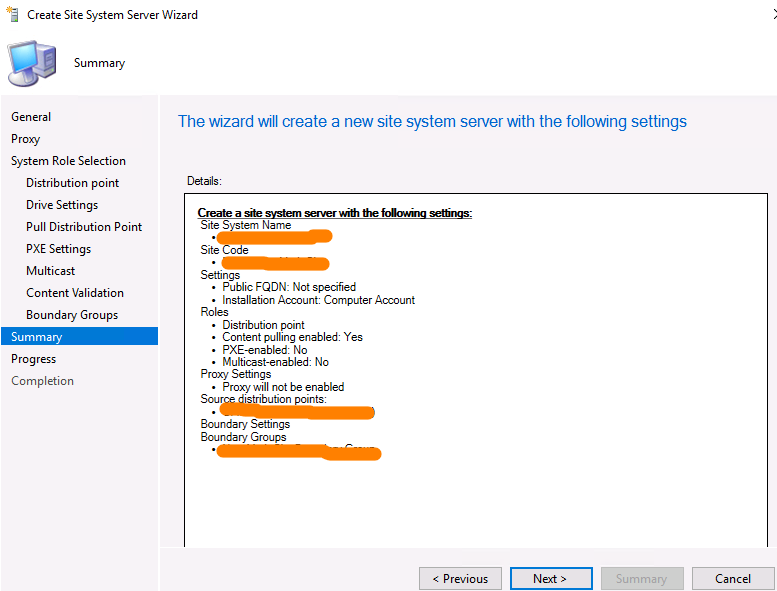
On Summary page, verify the details and click next to proceed with installation.
Click close to finish the installation wizard successfully.

You can verify the installation status in hman.log and distmgr.log files.
This concludes the installation of Pull DP in SCCM 2012 R2.
Keep Learning ☺
Comments
Post a Comment